Door Won’t Close After Weatherstripping? Causes and Fixes
If a door will not close after weatherstripping installation, first locate where the resistance occurs. Pressure around the whole perimeter points to a different problem from rubbing at one hinge or a latch that misses its strike. A larger strip, stronger closer or harder slam may conceal the symptom while leaving the cause unresolved.
For buyers, the useful first step is to identify where the resistance occurs before ordering another strip. A seal that is too large, partly seated or folded at a corner can make a previously usable door difficult to close. This guide helps you discuss the likely cause with your installer or supplier and decide whether adjustment or a different profile is worth considering.
Identify the Symptom Before Changing the Seal
| Observed symptom | First checks | Possible next action |
| Resistance around most of the perimeter | Profile size, working gap and installation direction | Review compression and candidate profile |
| Rubbing mainly at the hinge side | Hinge alignment, local clearance and seal seating | Correct the identified alignment or fitting issue |
| Door reaches the stop but will not latch | Strike alignment, contact pressure and hardware travel | Evaluate seal loading and hardware together |
| A corner bulges or catches | Joint length, twisting and incomplete insertion | Refit to the approved corner detail |
| One section keeps pulling out | Mounting foot, groove condition and local interference | Confirm retention dimensions and repair the cause |
These observations narrow the investigation; they do not prove a single cause. A door can have both a misaligned frame and an unsuitable profile. Record the location and closing stage at which resistance appears before adjusting anything.
Check the Door and Hardware Baseline
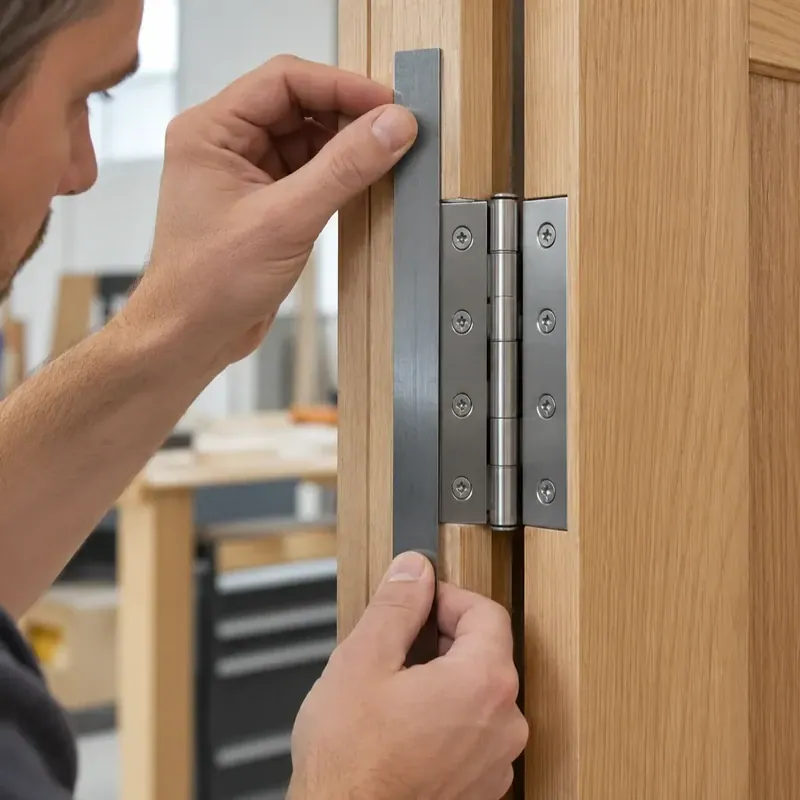
Inspect hinges, fixing screws, leaf position, strike alignment and visible frame distortion. Look for wood-to-wood contact or a leaf that has dropped toward the latch side. On a newly manufactured unit, compare the frame diagonals and hardware setup with the approved drawing and work instructions.
If the door is a general-purpose test unit, a controlled comparison before and after fitting can help identify added seal resistance. Do not remove required sealing components or alter listed hardware on an in-service fire or smoke door as an informal diagnostic shortcut. Follow the applicable doorset instructions and involve the responsible specialist.
A closer should not be increased simply to force an over-compressed seal into place. Review the cause while maintaining the operating requirements of the door system.
Confirm That the Profile Is Fully Seated
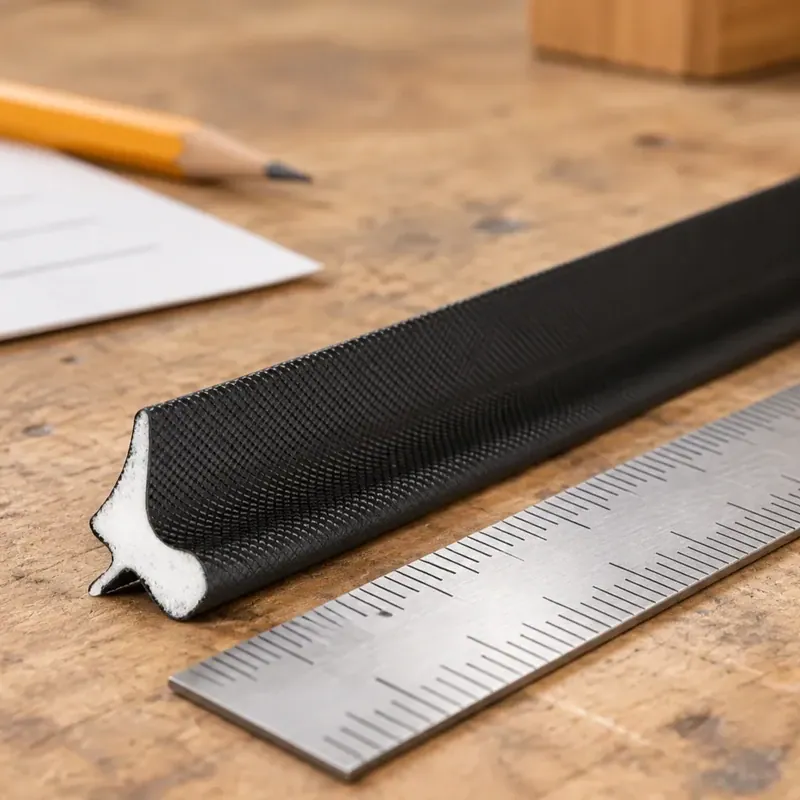
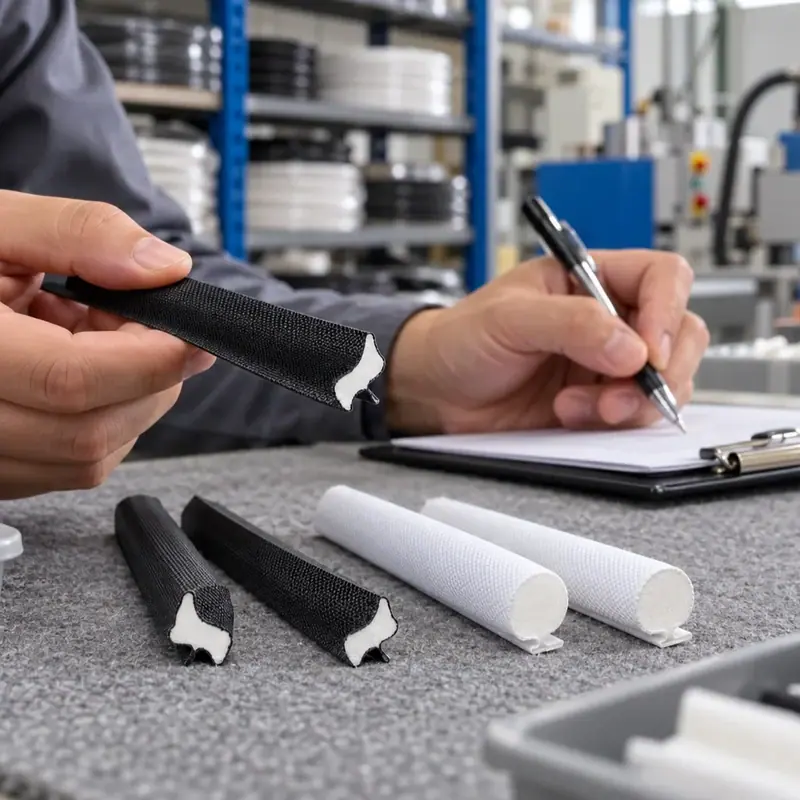
Check the mounting portion along the straight lengths and through corners. A foot that is partly inserted raises the body into the closing path. A twisted profile can present the wrong contact face. Paint or machining debris in a kerf can make an otherwise suitable foot difficult to seat.
Use the installation method approved for the profile. Avoid pulling the coated body to move it along the groove. If a section repeatedly lifts out, check the foot and groove dimensions rather than relying on extra force or improvised adhesive.
Compare the Working Gap With the Selected Profile
The visible width of a sealing strip does not identify its usable installation space. Measure the relevant closed-door clearance at the problem location and compare it with the profile drawing. Check more than one point around the opening: the smallest gap may explain the tightness even when the average gap looks suitable.
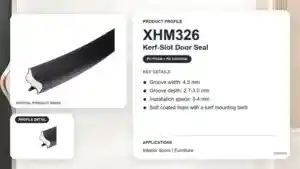
For example, the XHM326 interior kerf-slot door seal specifies a 4.5 mm groove width, a 2.7–3 mm groove depth and a 3–4 mm installation space. The receiving groove and working clearance are separate dimensions. A matching mounting foot alone does not establish suitable compression.
The XHM329 kerf-slot coated weather strip uses a 2 mm groove, a 3.2–4.8 mm groove depth and a 5.5–6 mm installation space. Its listed applications include windows, entrance doors and interior doors. These receiving and contact conditions differ substantially from XHM326, so neither profile should be substituted merely because a door feels tight.
Inspect Corners and Joints for Local Interference
A straight section can operate correctly while a short corner section folds or bunches. Check for excess length, incomplete insertion, reversed orientation and a joint that protrudes into the closing line. Examine the coating for cuts or damage caused during fitting.
Follow the specified joint method for the selected product. Do not trim the sealing body arbitrarily to make the latch engage. If the approved corner arrangement remains unclear, resolve it with the manufacturer before changing multiple doors.
On adhesive-mounted products, also inspect the base for lifting or rolling. A weak surface finish or incorrect application can move the body into the door path. Replacing the strip without correcting the substrate or installation condition may reproduce the problem.
Check That the Door Works After the Correction
Operate the door using its intended hardware and normal procedure. Confirm that it reaches the latch, remains retained at the corners and maintains contact without local folding. Recheck after the agreed dwell and cycling conditions rather than relying on a single successful closure.
If you are buying for several openings, keep the selected product code and note which frame type it suits. When only some doors are difficult to close, ask the installer to compare their alignment, finish and seal position with a door that works correctly. That comparison can prevent an unnecessary replacement order for every opening.
Check the Point at Which Resistance Begins
Watch the closing sequence slowly. If the leaf rubs well before it reaches the stop, inspect hinge alignment, the frame and any projecting section of the strip. If resistance appears only during the final movement, focus on compression at the contact line and the relationship between the latch and strike.
Listen and look for a local clue. A short scraping sound near one hinge can indicate a different issue from uniform spring pressure around the frame. A visible fold at a corner can explain an intermittent catch. Observing the location makes it easier to avoid replacing a whole perimeter for a fault affecting a small section.
Compare the door in its normal operating condition. A leaf resting against the stop with the latch disengaged may feel different from a fully latched door. The practical goal is a door that closes and latches normally while the strip remains correctly positioned.
Avoid Fixes That Create a Second Problem
Stacking another strip over the first can reduce the available space further. Moving a seal away from its intended contact surface may make the door easier to close but leave an open leakage path. Trimming a coated foam body can expose the core or change the contact shape. A quick improvement in latch engagement does not necessarily mean the sealing arrangement is correct.
Lubricating the strip is not a general solution either. Compatibility varies between coatings, adhesives and cleaning products. Use only products permitted for the selected construction. If friction appears after painting or cleaning, check for surface contamination and coating build-up before adding another substance.
Repeated slamming can make diagnosis harder. It may push a partly seated strip into an inconsistent position or load the hardware unnecessarily. Correct the identified cause and then assess ordinary operation rather than judging success by whether the door can be forced shut.
Consider Changes After Painting or Refinishing
A door that worked before refinishing may become tight even when the seal model has not changed. Paint at the stop reduces clearance; paint inside a routed groove can prevent the foot from seating to its intended depth. The body then projects farther into the closing path.
Check where the new finish has accumulated. A small local build-up near a corner can create a concentrated obstruction. Make sure any correction is compatible with the frame finish and the installation instructions. For an adhesive-mounted strip, the coating must also be stable enough to support the bond.
Buying Seals for More Than One Door
If one door closes correctly and another using the same seal does not, compare the surrounding conditions. Look at the groove, leaf position, corner treatment and hardware setup. A consistent product can behave differently when the frames are not consistent.
For a property project or resale order, check whether the same profile actually suits all the relevant doors. A replacement that works on one frame is not automatically right for another. Confirm ordinary operation after fitting: the leaf should reach the stop, the latch should engage, and the strip should remain seated without a visible fold.
For importers and distributors handling a customer complaint, establish whether the problem affects every opening or only a few doors. That distinction can help separate a profile-selection issue from a local fitting or alignment problem. The first conversation can begin with that simple description of the symptom.
Frequently Asked Questions
Will a tight new seal eventually settle?
Do not rely on permanent flattening to correct an unsuitable profile. Check fit and operation against the approved requirements before accepting the installation.
Should the seal be cut thinner?
Unspecified trimming can damage the coating or change contact behavior. Confirm the correct profile and joint method before modifying it.
Why does a short sample feel fine but a full door feels heavy?
A short hand-compressed piece does not reproduce perimeter loading, hinge-side movement, latch action or the complete hardware setup. Check the proposed seal on the intended door before ordering it for multiple openings.
Find a Seal That Suits Your Door
Winguard is a China door seal manufacturer and supplier supporting standard product sourcing and OEM projects. If you are comparing replacement seals or experiencing fitting problems, you can contact us to discuss suitable product options.
Ask Winguard about door seals and pricing. Our team can discuss product options, pricing and OEM customization.